Manual Mode for Style Bloggers


Shooting in manual mode can be tricky, but if you want the best photos for your blog, it's definitely a skill worth learning. Luckily, we've made it easy for you with this basic tutorial! You'll be a pro in no time.
Have you ever tried to shoot in manual mode and kept giving up because it was so freaking hard? I’m over here raising my hand with you!
When I took my first (and only) photography class in college, I tried to memorize the manual settings my professor gave us...
You know what happened? I got a ton of the manual questions wrong on that test. (I was suuuper embarrassed.) Seriously, it was the most confusing thing I’d ever tried to learn.
But after that class was over, my curiosity and interest in photography grew stronger and thankfully, I kept shooting and practicing as much as I could. Just ask my model/sister/muse.
But I have to tell you — I didn’t learn manual by memorizing settings. I learned manual by constantly practicing with the settings, learning what each of them did within the image, and from there I got a feel for what settings worked best in certain situations.
So I thought I’d break down each setting in manual mode so you can have a better idea of what each one does and why it’s important in your final image — especially if you're shooting for your fashion or lifestyle blog.
First of all, why should you be shooting in manual mode?
If you’re shooting in manual, you’ll be able to get the correct lighting or exposure in your image because you can adjust all three of the settings.
You can get more depth of field (aka bokeh) vs if you’re shooting in auto, you don't have full control of the aperture — which is what allows you to get that blurry background in your photo.
You won’t have to rely on auto or another setting that isn’t as customizable for your specific image and style.
If you’ve already invested in a DSLR camera, you'll want to use it to it’s fullest potential, right? (Otherwise you might as well shoot with your phone.)
So what is manual mode?
When you shoot in manual, you’ll adjust these three settings in order to get the correct exposure or lighting:
Aperture
ISO
Shutter Speed
All are equally important in getting the correct lighting and style of image you want. So what do they all do?
Aperture
Aperture controls how much light is coming through your lens, so it helps determine how light or dark your image will be.
It also controls the depth of field in your image. For example, if you’ve ever seen a picture of a person who's in focus but the background is blurry — that would be a shallow depth of field since they were the only thing in focus.
Aperture is also known as the “f-stop” and can be written as a fraction like f/6 or f/22, but most likely appears on your camera’s settings as f6 or f22.
The smaller that bottom number is (like f/2), the less depth of field there will be (like the image below). (Keep in mind that these images were taken over a year ago and haven't been edited to give you an idea of what each setting does). This is
Rebecca of Minted Bow — isn't she gorgeous!
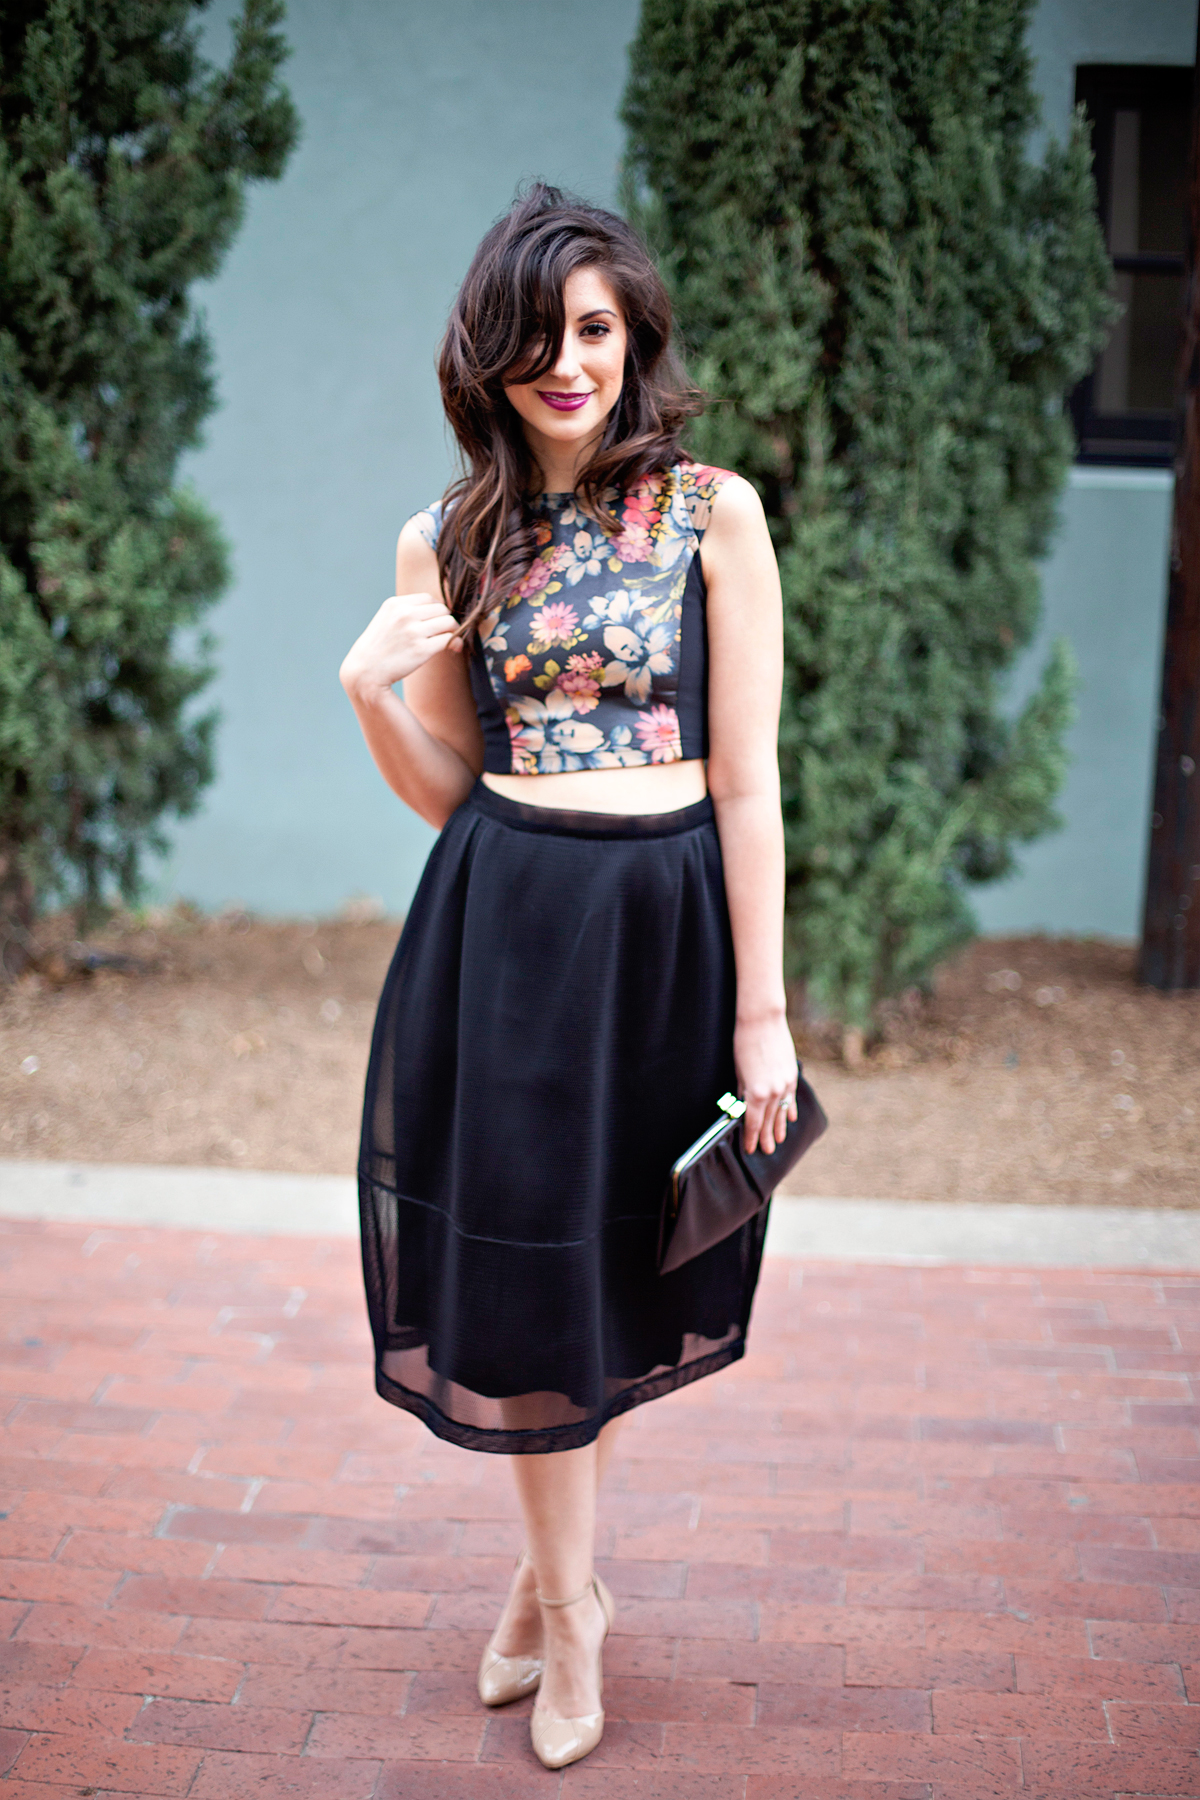
Dallas blogger photographer Megan Weaver
The larger the bottom number is (like f/22), the greater the depth of field. You can tell because the tree and wall are in focus as well as the model:

Dallas blogger photographer Megan Weaver
Shutter Speed
Shutter speed controls how bright or dark your image will be based on how fast or slow your camera’s shutter is. The faster it is, the less light comes in because it’s open for less time. Likewise, the slower the shutter is, the more light comes in so it's brighter.
Shutter speed also controls whether or not your image will be blurry or crisp. So let's say you were at fashion week and someone walked by you quickly on their way to a show — if you’re shooting at a slow shutter speed, they’re going to be blurry. But, if you’re shooting really high, they’ll be crisp and clear.
Shutter speed is shown as a fraction on your camera, like 1/30s or 1/2000s.
The slower the shutter speed is (like 1/30s), the blurrier your object will be if they’re in motion (like the image below).

Dallas blogger photographer Megan Weaver
The faster your shutter speed is (like 1/2000s), the crisper your model will be if it’s moving (like below).
A shutter speed of 1/30s will also create a brighter image since the shutter is open much longer vs 1/2000s, which is much quicker. Make sense?
Dallas blogger photographer Megan Weaver
ISO
ISO is how sensitive your camera’s sensor is to light. ISO controls how bright or dark the image is. The higher the number, the brighter the image — and the lower the number, the darker.
It also controls the amount of grain in an image. If you’ve ever seen an image that was taken in a darker location, and see little specs in the picture, you can assume it was grain. When you’re adjusting ISO, it’s important to remember not to shoot too high or you’ll see grain start to appear in your image. Every camera is different, and the higher quality your camera is, the higher ISO you can shoot without grain appearing.
ISO is written as 800 or 1000 (pretty simple), and the higher the number, the brighter the image. But remember there will be more grain, which you want to avoid.
Try to use the lowest possible ISO if you can, to keep the highest quality image.
A smaller ISO (like 200) will produce a darker image:

Dallas blogger photographer Megan Weaver
A higher ISO (like 1000 or 2000) can produce a brighter and grainy image, like this: (it may be hard to see on your phone, but if you look closely — especially at the darker part of the window — there are little specs of grain in the image).

Dallas blogger photographer Megan Weaver
When I shoot:
I usually adjust the aperture first (with a shallow depth of field so there's lots of bokeh)! Usually, I start around f/2 for a blogger shoot.
Then I adjust the shutter speed depending on if she's moving or still. I shoot at least 1/200 shutter speed (faster if possible) to avoid blurriness.
Lastly, I adjust the ISO until the exposure is correct. This number will depend on the lighting conditions.
If you have a DSLR camera that lets you see the screen while you're adjusting the settings, I would highly recommend practicing that way so you can see exactly what each setting changes.
I hope this helped to simplify manual mode and break down the three settings you’ll need to create the correct exposure!